GAME BASICS
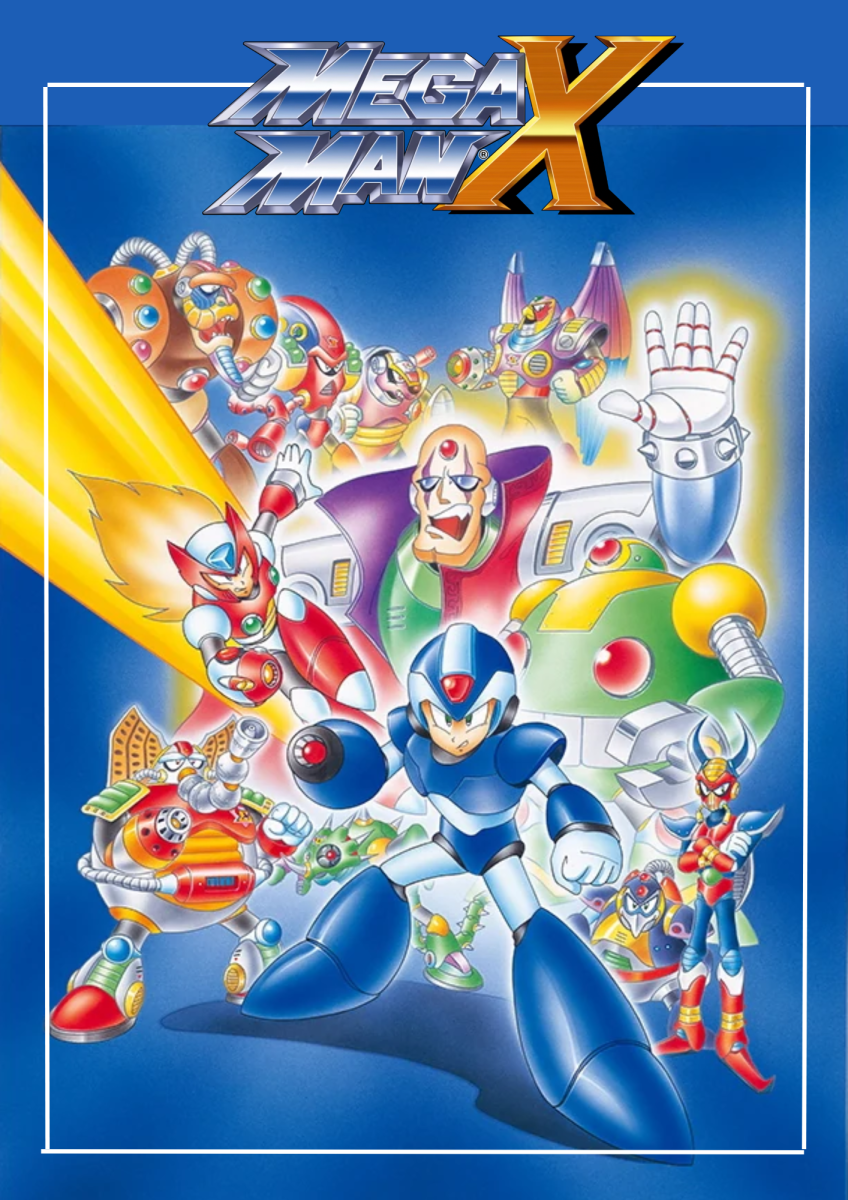
Megaman X is an action platform video game where you have different stages that you can Freely pick. Your character evolves and becomes stronger by defeating bosses and finding secret powerups hidden all over the stages. After beating all bosses, you will go to the enemy castle, Sigma, where you will need to defeat all the bosses once again, fight against new sigma’s allies and confront him in a final battle.
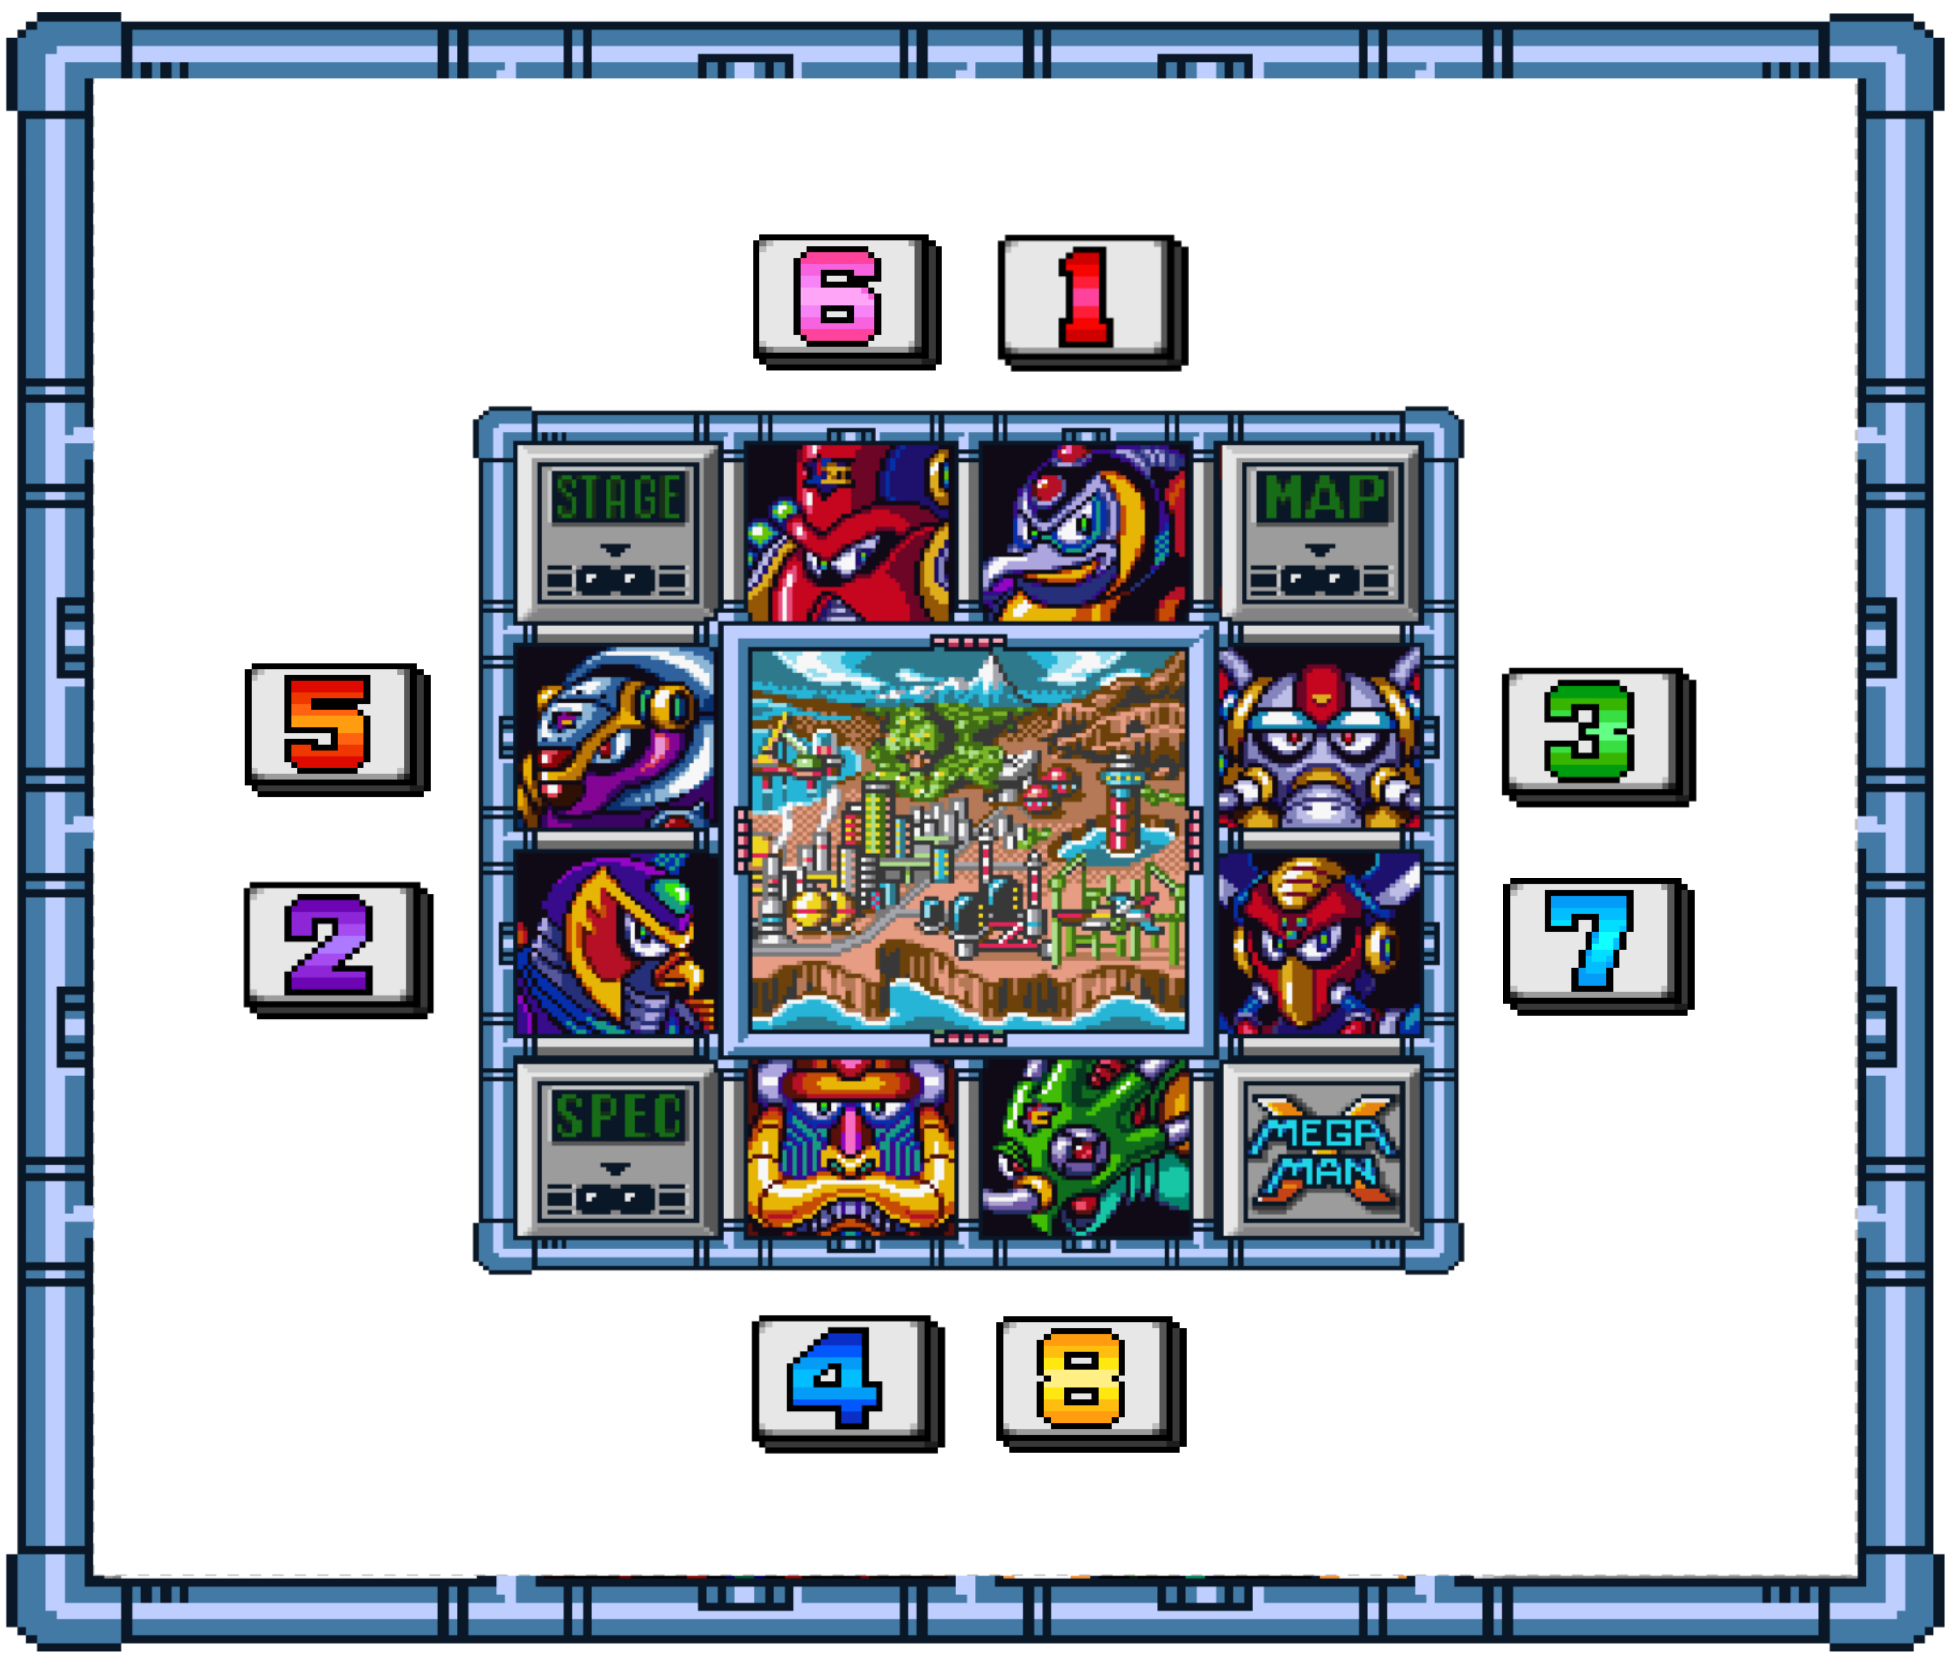
There’s different stages that you can pick freely. Each stage has checkpoints, hidden power ups, and a boss. Once you defeat the boss, you will learn its ability as a sub weapon. Other bosses are vulnerable to these sub weapons, so the point is to defeat the bosses in an order that you can use the weapon they’re weak at.
Beating the bosses will also affect other stages, making them easier to beat.
There’s three kinds of POWER UPS you can find all over the stages. These are not required to beat the game. You can keep the power ups even if you don’t beat the boss.
ARMOR PARTS
These improve your armor. They will give you new skills, like dash, defense, better buster and a helmet. These will make a huge difference in the game, giving you a lot of advantage, and they’re required to find other power ups.
HEARTS
These increase your energy bar. There’s a total of 8 hearts.
SUB TANKS
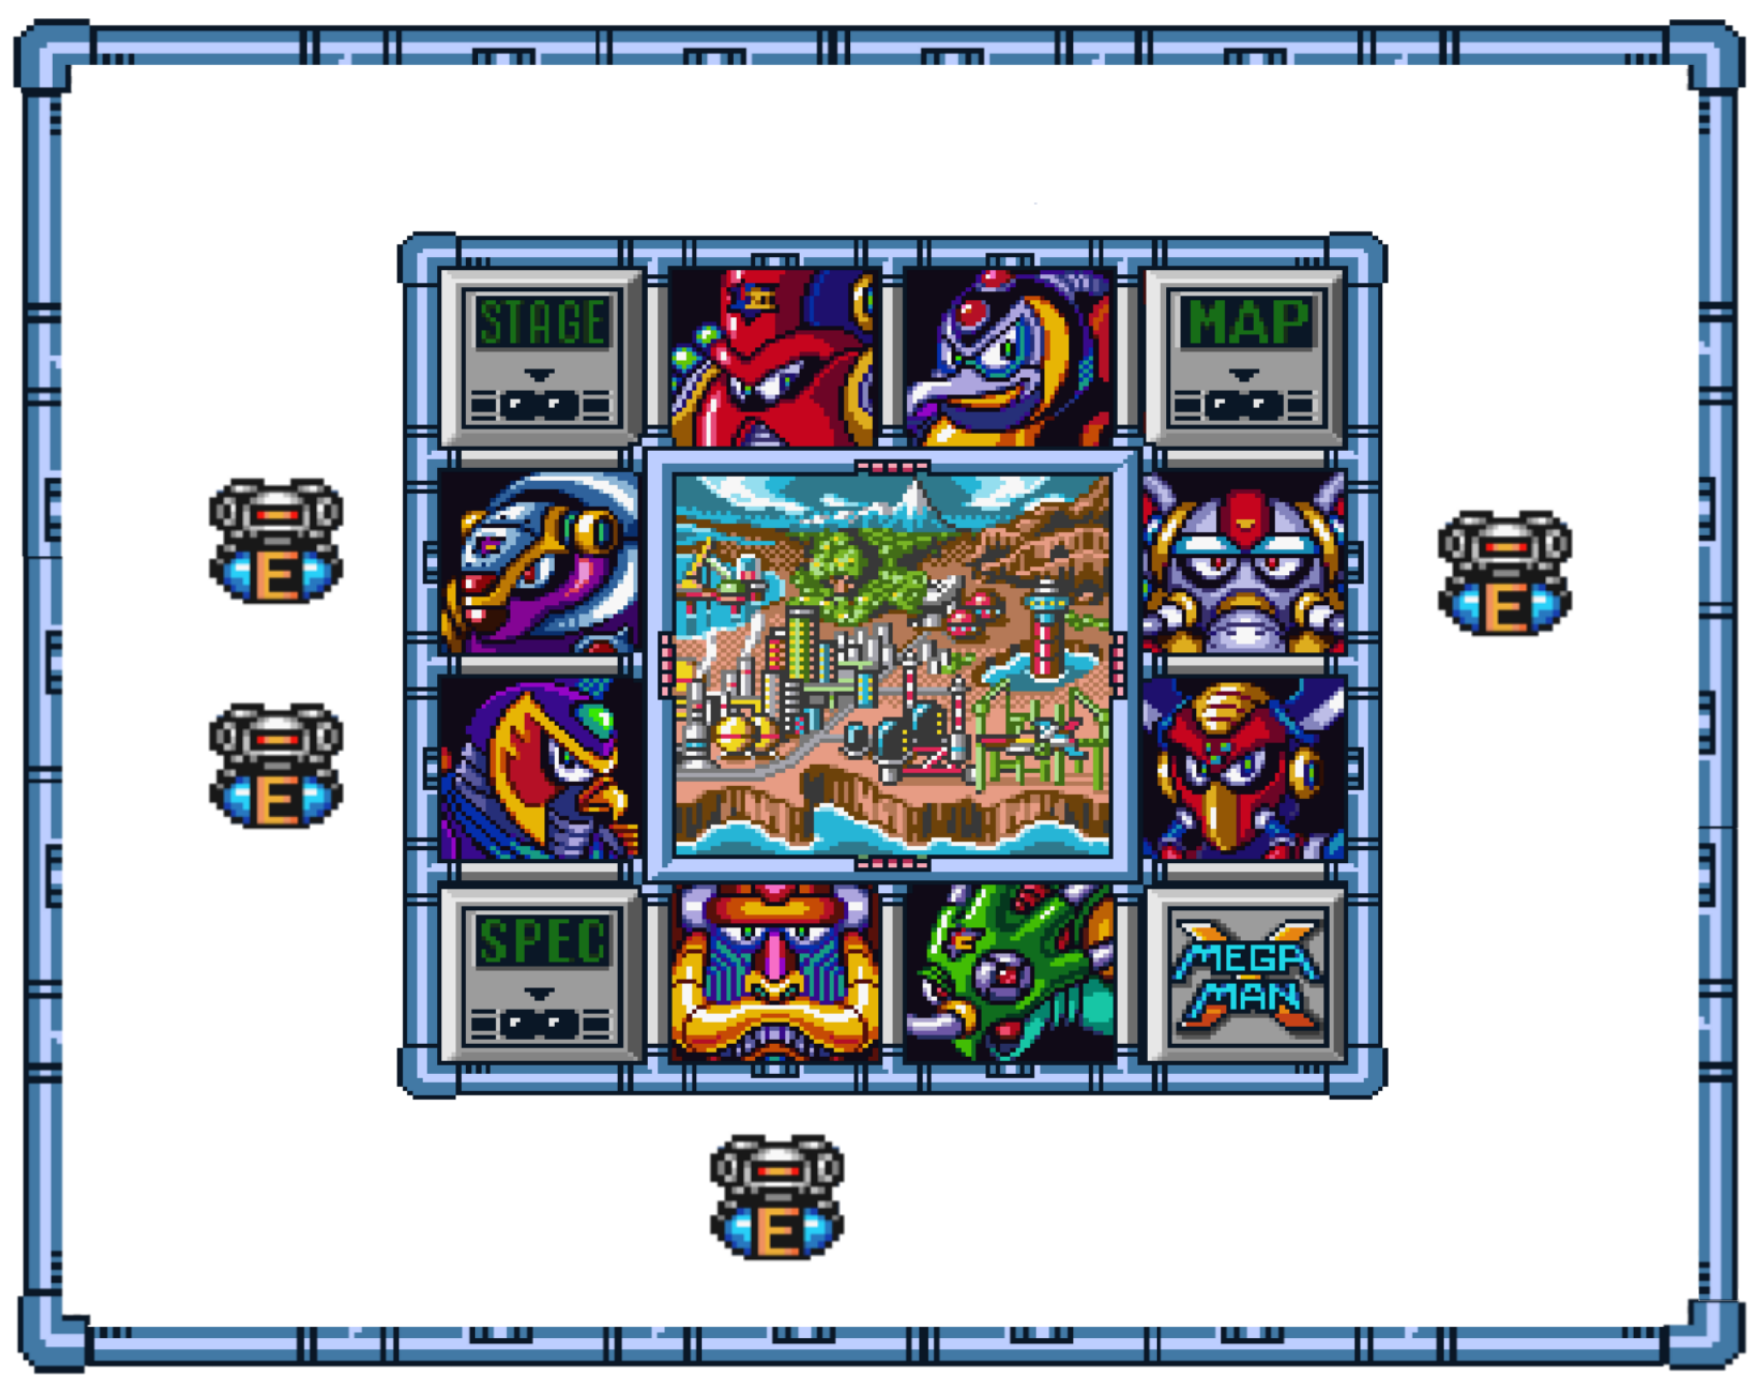
The sub tank is an item you keep in your inventory. It refills your energy bar once you use it. You can use any time in the game. You have access to it in the pause menu. Once you use it, it will become completely empty. You can refill the sub tanks killing enemies and picking up the energy they drop.
Boss sub weapons and armor parts are required to find the power ups. Once you beat the boss of a stage, you can exit that stage on the pause menu,
making the backtrack a lot faster.
Once you get the arm upgrade, you can charge the sub weapon while holding the attack button while holding a sub weapon, until megaman becomes pink. Each sub weapon charged does a different ability and it’s much stronger. Some are required to pick up certain power ups.
If you collect every single powerup in the game, and defeat all the bosses, , you can unlock the most powerful weapon of the game, the hadouken, which kills everything in one hit. It’s the same as the hadouken in street fighter.
Enemies in this game are fixed, which means they’re always in the same spot.
again if you scroll the screen a little bit. They drop energy and sub weapon energy, which fill your energy bar and weapon energy bar. You can move back and forth to spawn the enemies again, to farm energy or energy weapon. They have different drop rates, but in general, small enemies drop more often.
Every boss has a few movesets, even though you only learn one sub weapon. In which order they do the abilities is RNG, which means that it’s random what they will do next.
There’s also minibosses in certain stages. Beating them could affect the scenario, opening up secret paths or unlocking secrets. You can also open paths interacting with the scenario, like shooting walls or breaking rocks.
After defeating all the bosses, you will unlock sigma stages. There’s three of them. You will have to fight all the bosses again through the stages, and new bosses. The new bosses are also vulnerable to sub weapons, but you won’t get any new sub weapon out of them. Sometimes they can have two vulnerabilities. Sigma is ONLY vulnerable to r. shield
The game has lifes, and infinite continues. You can have a max. of 9 lives. Once you die, you will respawn at the checkpoint. If you run out of lifes, you will have to try the entire level again. As I said, you still keep all the power ups you found through the stage. You can find lifes laying down in stages, or you can get them from killing certain enemies. The lives you find laying in stages will respawn
again if you re-enter the stage. There’s an enemy at the armadillo stage (the bat that looks different from the rest) that has a very high life drop, so you can go back and forth to spawn it over and over and farm lives there.
There’s a password system. If you soft reset, your latest password will be introduced automatically when you press password on the main menu.

You can create passwords with the requirements you would like with the Password Generator
It is possible to get hadouken with a specific password: 2653-3848-7587 holding L R X 🡻 when you press start. The hadouken is not salvable for most passwords
TIPS & TRICKS
First off, on the option menu, change the dash to a comfortable button (like R).
Dash and shoot deals TWO DAMAGE. This only works with the normal shot, it doesn’t work with charged attacks.
There’s an armor upgrade that reduces the damage by 50%. I recommend picking it early in the game. (Check power ups & locations for info).
If you get stuck or think the game is too difficult, you can go to other stages to collect power ups since you keep the power up even if you don’t beat the boss.
Dash and jump makes megaman go really far. This can be used to reach high up or far platforms to discover secrets where powerups are. I will show you everything you need in the route below.
You can press the dash button while jumping on a wall too. This will make your jump reach higher, so you can cheese and get items that are
in higher spots, or even skip certain parts of the game, like the platform spot at sigma 1, climbing the wall instead.
Pressing dash while jumping on walls is very good to dodge bosses.
Never stand too close to bosses while hitting them, because they can get pushed towards you and deal a huge amount of damage
The arm upgrade gives you the power to charge the sub weapons. There’s two sub weapons that charged gives you a defense ability, these are:
The chameleon charged, which gives you invulnerability for a decent amount of time.
And the armadillo charged. It kills small enemies to touch. It’s unlimited, but it breaks if you collide with a bigger enemy. These two are VERY strong since it makes you invulnerable.
Every boss is vulnerable to a sub weapon, so use them against bosses. You will notice when the boss is vulnerable because it will do a special animation, or blink. You can check the weaknesses below.
Every enemy is also vulnerable to a sub weapon. I will show you a few quick tips on weapons now, but you can check weapon usage in more detail later.
Tornado gives good coverage in front of you and it’s very strong against big enemies. As long as you follow the tornado, you will kill everything that comes towards you.
Fire will kill everything around you very quickly. It’sstrong against big and small enemies
and it’s very helpful in small tunnels that are crowded.
Sometimes ignoring enemies and jumping over, leaving them behind, or ignoring them, is a much better option than trying to kill them.
The same applies if you get hit. You can take advantage of the i-frames to make it past a troublesome enemy
You can use the i-frames to walk on spikes, or avoid getting killed by spikes.
Enemies drop energy and weapon energy. They respawn if you leave them offscreen, so you can abuse this to get more energy. I recommend getting as many lives as possible, and always fill all the sub tanks before the stages.
HP/LIFE FARM
There’s a lot of bats at the beginning of the armadillo's stage that you can farm if you keep walking back and forth. You can help yourself with the armadillo shield to make it a little bit faster.
There’s also a special bat at armadillo stage that looks different from the rest, that has a high life drop rate. Just go back and forth over and over to kill it and pick up all the lifes.
Before sigma final boss, there’s these little holes on the wall where little worms come out. Use the armadillo shield and slide on the hole to pick up the drops
Take advantage of the screen:
If there’s a lot of incoming enemies, scroll the screen little by little. You can always shoot while jumping to the next platforms to kill possible incoming enemies even if you don’t know there will be enemies, preventing surprises.
If you are holding a subweapon, you can press both weapon switch buttons at the same time to go back to the buster.
But if you are too slow, you can always open the menu with the start button, and switch weapon
You need to walk on a platform to be able to dash. Double tap direction makes megaman dash, be careful with this while being on platforms.
POWER UPS & LOCATIONS

ARMOR PARTS
DASH
Location: Chill penguin Necessary:
Dash is the first upgrade we will go for since it’s necessary to find the rest of the upgrades. It’s extremely helpful for everything, dodging, moving fast, reaching other platforms.. It’s in the way at chill penguin’s. This is the only power up that you can’t skip.
ARMOR (DEFENSE)
Location: Sting chameleon Necessary: Dash
You will take 50% less damage once you pick the armor upgrade. It’s extremely good for beginners so you can take a lot of hits, that’s why we will pick it in the early game. It’s located up that green wall. A green robot miniboss will appear. Defeat it and the capsule will appear.
HELMET
Location: Storm Eagle Necessary: Dash
It’s an upgrade for the head that allows you to crash blocks above you, opening secret paths where other upgrades are hidden. When you get to the long metallic wall, it’s hidden behind the fire wall. You only need to shoot the wall, it doesn’t matter the weapon.
ARM
Location: Flame mammoth Necessary: Dash + Helmet
You can charge the buster for longer until you become pink, and release a very strong and wide shot that deals a lot of damage. It allows you to charge sub weapons. If you reach the blocks but fall, you can’t pick it and you will have to re-do the stage to have another chance to pick it up.
HADOUKEN
Location: Armored Armadillo Necessary: All upgrades + subweapons
You need all the enemies defeated, and all the upgrades. You need to ride the last cart and jump high enough at the end of the travel.
You need to see the energy drop 4 up there times , and the last time you have to be full HP to make the capsule appear.
The hadouken is not salvable for most passwords.
It is possible to get hadouken with a specific password: 2653-3848-7587 holding L R X 🡻 when you press start.
Then I recommend you to check HADOUKEN at the end of the route for a more detailed explanation ofS how to get it.
HOW TO DO A HADOUKEN

You have to press down diagonal and the direction you want the hadouken to go, and then press Y. You can buffer a hadouken if you hold Y while crossing a boss door, and once the boss fight starts,press 🡻 🡾 🡺 and then release the Y button. This makes it a little bit easier to guarantee the hadouken.
HEARTS
Location: Storm Eagle Necessary: Dash
At the beginning of the level, get on the platform and when it reaches the top, dash jump to the left and you will land on the platform where the heart lays.
Location: Spark Mandrill Necessary: Dash
After that turtle enemy, before climbing downstairs, there’s a wall. Jump and dash up to pick it up. You could use the boomerang if necessary.
Location: Flame mammoth Necessary: Penguin defeated
After defeating the penguin, the lava freezes. Then you can dash under the platform. It's at the end to the wall.
Location: Chill penguin Necesary :Mammoth defeated
With mammoth defeated, go to penguin stage. Then pick up that robot and jump, then press up jump to jump out of the robot and use the fire to that platform.
Location: Boomer Kuwanger Necesary :Penguin defeated
After defeating penguin, at kuwanger, after climbing the red building with stairs, charge the ice and ride the platform. dash jump up left to reach it.
Location: Armored armadillo Necesary - (or boomerang)
Kill the robot to jump on the platform. If you don’t kill it, it will break it so you would have to use the boomerang.
Location: Launch octopus Necesary -
Get up on that tornado. You will find a ship. Kill it and it will break the platform below. Stand on it and go right, and kill the salamander miniboss to get it.
Location: Sting Chameleon Necesary Dash + Helmet + Octopus defeated
After defeating launch octopus, go to sting chameleon. Where you find the armor upgrade, fall down the pit. There would be water now. Break the wall by sliding and jumping (you need the helmet upgrade for that) then jump to the right and you will find the heart.

SUB TANKS
Location: Storm Eagle Necesary: -
At the beginning of the stage, shoot the cannon and stand on the platform. Break the glass and the sub tank will be behind the enemy.
Location: Flame mammoth Necesary: Dash + Helmet
Climb to the top left. Dash jump once you see the life. Slide and jump to break the blocks.
Location: Spark Mandrill Necesary: Boomerang
Go bottom route as I show, and then once you reach the last wall you will be able to see the sub tank. Jump and shoot a boomerang to reach it.
Location: Armored Armadillo Necesary: -
When you slide down that wall, you will find a drilling tank. Once you get close to the bottom, start jumping and wait for it to leave. The sub tank is hidden right behind the tank.
WEAPONS & BOSSES WEAKNESS


Once you defeat a boss, you will learn his ability and you can use it as a sub weapon that consumes energy weapon. Other bosses are weak to these abilities, which means that you will deal extra damage and you will be able to stun them or else. You will notice if the boss is weak to a sub weapon because it will do a special animation or it will blink. You can refill energy weapon from enemy drops. Above you can find all the weapons you get from the boss, and the second picture (in red) are the bosses weaknesses.
SHOTGUN ICE
It’s a flake that deals damage and spreads and bounces when it hits enemies or walls. Kills in one shot if you shoot inside the enemy.
It’s good against small enemies. It bounces in walls so it’s easy to hit things that are moving or difficult to shoot, and very good while climbing walls.
Charged: Makes an icicle that you can use to reach high spots.
STORM TORNADO
you can use the vortex to clear the enemies that are in front of you and the ones that come towards you if you keep walking by it. It’s very strong against big enemies too.
It’s very effective for parts with pits so you can jump safely while you follow it after jumping.
Charged: It's good against enemies above you.
FIRE WAVE
The fire has a lot of damage per second, which makes it very strong against big enemies. It’s extremely good in small spaces that are crowded with enemies.
BOOMERANG CUTTER
Use it on bosses that are weak And for picking up powerups.
ELECTRIC SPARK
It’s useful to hit enemies that are on walls since it drives across the wall.
Charged: It’s very powerful against many enemies on the screen in different height levels.
Shield enemies die in one hit.
HOMING TORPEDO
I only would use it against bosses that are vulnerable to homing. Maybe in some cases, enemies that are hard to reach, or very fast.
CHAMELEON STING
Good to reach enemies that are in different platform levels.
Charged: This is one of the most powerful weapons, since it gives you iframes for a decent amount of time.
ROLLING SHIELD
Charged: Kills all small enemies that colides with it. It's always on, but it breaks if you hit a big enemy. You can't swap weapon while having the shield on. You have to switch weapon on the pause menu.
ROUTE